Chibi Stickers
The Chibi Stickers project shows how to create emotes for stickers across multiple skins in Spine Professional.
Skins
The project contains many separate skins: It started with Spineboy, but it now includes a skin for each member of the Esoteric Software team.

These skins were added after the stream and were obtained by recoloring some of Spineboy's original parts, and using linked meshes on them, such as the arms and legs, while creating meshes and weighting the rest of the new parts that are unique to each new skin.
Several skins include skin bones. These are used on parts, such as the skirt controls or the back hair, so they can be animated. Not all the skins use those parts, so using skin bones means that the skins that don't have those parts won't have those bones shown and won't do calculations for them.
The characters also have some commonly shared items, such as the emote symbols and the alternative mouth and eye shapes. These are not inside skin placeholders and will therefore be available regardless of the active skin.
Face control
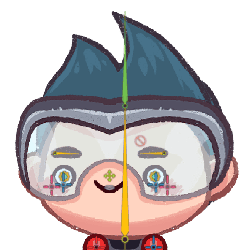
The project features a simulation of depth of the head by moving the bone face-holder.
The depth is achieved with the help of a transform constraint that constraints the bone head-inverse to face-holder with a translate mix set to -100 and -100. This makes head-inverse mirror the bone face-holder, but moving in the opposite direction. Several meshes are then weighted to both bones in different amounts to create a parallax effect that gives the illusion of depth.
A slightly different, but similar setup can be found in the Mix-and-Match example project.
Bendy limbs
The arms, legs, and the body all feature a very simple lateral bending. Images making up the limbs were drawn straight to facilitate nicer bending in Spine.
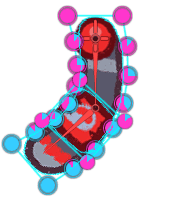
The legs also feature IK constraints to follow the body as well as to stay pinned to the ground.
Hair
In most cases the hair is divided into 3 major parts: front, middle and back.
The project features different hairstyles for each skin. Due to this, some extra bones are necessary to control one or more hairstyles. These bones are added to skins as skin bones. hair-front controls hair that starts from the middle of the head and goes upwards. hair-back-long-middle and hair-back-long-middle-down control longer hair that goes downwards instead.
The rotation inheritance of the bone hair-back-long-middle is disabled to simplify animating these parts by giving them a fixed rotation that imitates gravity, while still making the hair bounce and follow the motion as needed.
Beard
The beard follows the roundness of the face in each version. Each beard is weighted completely to head-base for the external part that touches the borders of the head, and completely to face-holder on the innermost part. The meshes are organized to use as few vertices as possible, to be symmetrical, and on occasion a second row of vertices with between weights may be present to simulate more roundness.

Glasses

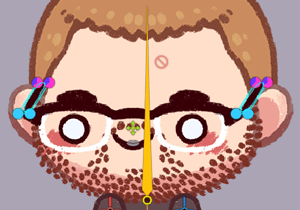
The glasses are made up of 3 parts: the lenses and the two sides. While the front is weighted to follow the head control bone, the sides have been manually positioned and weighted so that they are attached to the glasses on one end and go above the ears on the other end. The test turn around animation was used to set these weights.
Skirt
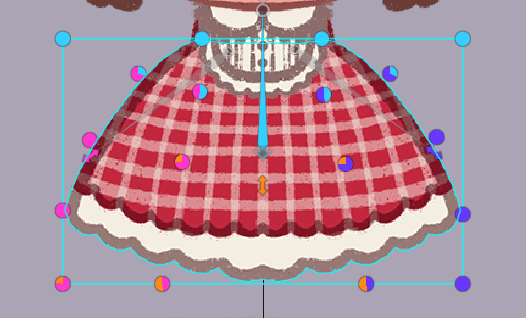
The skirt controls follow the same logic of the Mix-and-Match example project.
Hat
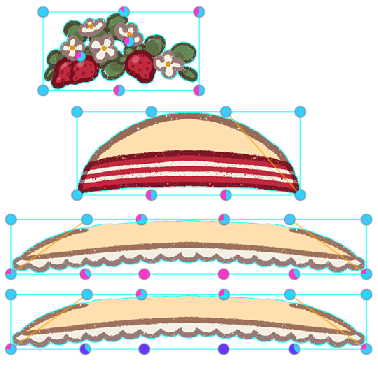
The hat is composed of 3 main parts: the top, the front, and the back. This structure is a good example of how to separate a hat for animation. The back part goes behind the back hair in the draw order, while the front is drawn in front of the face and hair parts. They are the same piece but are differentiated by having differing weights, influenced by opposite bones: face-holder and head-inverse, in the 4 middle low part of the meshes.
Emotes

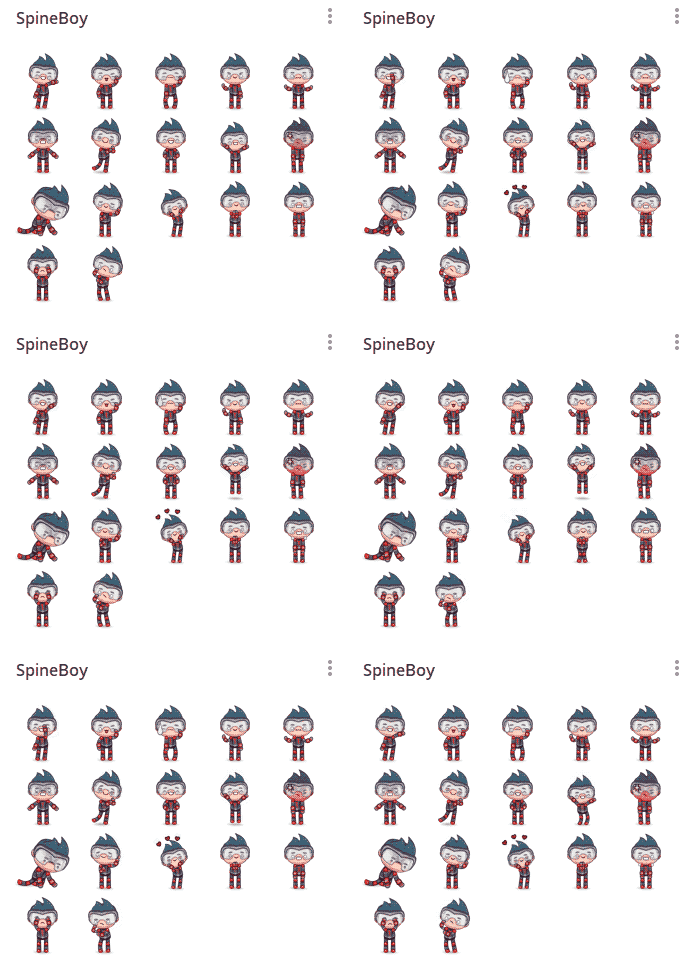
The project includes 23 emotes animations, for a variety of examples. They are all short loops starting from a pose that expresses the given emotion for the best result once exported as a sticker.
To make a new emote, first a new animation is created. Next, the character is posed into a still image that best represents the emote. At this point the pose is duplicated to be the same at the start and at the end of the animation, making sure that the animation duration doesn't exceed the allowed length for the desired export, which is usually 1-2 seconds max. A good rule of thumb is to not go over 60 frames in the editor if your FPS are set to the default 30, however this rule can sometimes be broken, as in the animation idea where the length is 90 frames. A variation of the pose is then added in the middle, and then offset and curves are adjusted.
Movement
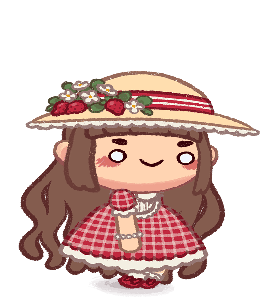
As a small extra, the project also includes idle and trot animations for front, back, left, and right directions. As there is only one front set of images for each skin, and the body does not turn, the result is not perfect for every skin, but it may be good enough to test 4 way movement in your game using these.
Exporting the stickers
A detailed article is available on our blog describing the steps needed to export Telegram and Discord stickers.
Video
You can follow the creation of this project in the video below. A full index of the streams and the original project files can be found in our Spine Twitch archives.
The project file that you can download from this page or open from the Spine examples is an enhanced version offering more skins and animations than the project file from the Twitch stream.
